This is a lab that I did in class that combined a picture of Harry Potter and Hermione Granger. This was the first-time I used photoshop to combine images. It required a lot of cropping, blending, smudging, and changes the opacity of certain images.
This is a lab that I did in class that combined a picture of Harry Potter and Hermione Granger. This was the first-time I used photoshop to combine images. It required a lot of cropping, blending, smudging, and changes the opacity of certain images.
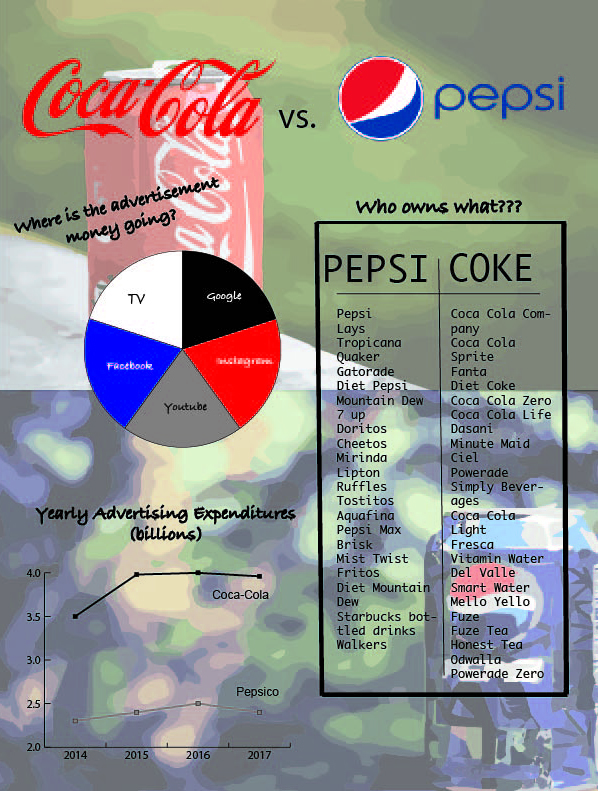
For this project, I wanted to do something that was simple yet got the point across. The article that I designed this infographic for is about the competition between Pepsi and Coca-Cola and how Pepsi wants to step it up to match Coca-Cola’s marketing budget. My background for the infographic is a combination of two vector images that display both Pepsi and Coca-Cola. I lowered the opacity in order for the charts and graphs to still show through. I made just a typical line graph to show the difference in spending between the two companies to really show how much more Coca-Cola spends. Also, I did the pie graph to show the different platforms that the advertisement money is being spent on. Finally, the third chart I wanted to look like the nutrition facts on a label but really it’s comparing the different brands that each of the company owns to really demonstrate that when each company spends billions of dollars on advertising, they are really spending on all of these brands. In order to make this chart, I used the line tool and played around with the thickness. I also changed the font to fit with the theme I was going for. For the title of the infographic, I just went with their basic logos on the top to show that these companies are competing against one another.

This was my first project that I had in photoshop. I made this editorial illustration based off of an article. In order to complete my editorial illustration, I needed many layers in Photoshop to do so. I first started out with the background. I wanted to use a space theme to show the satellite is from space detecting what is going on. I grabbed this image from online. The next thing I did was added the planet. In order to select the planet from the full image, I used the quick selection tool and made a smart object after I rasterized it. Then I cut the object and placed it on the space background. Next, I added the satellite. On the satellite, I added a layer over it and placed an eyeball. In order to cut out the circle of the eyeball from its original background photo, I had to make it a smart object and use the quick selection tool again. Then, I adjusted the size of the eye to fit on top of the satellite and I changed the opacity on the satellite to emphasize the eye. Then I used the same technique of creating a smart object with the factories. I used these to demonstrate the methane pollution and added text to signify that it was methane that was coming out. I used red text to signify that the methane was causing heat. I changed the opacity of the Earth to place emphasis on the factories to show that that’s the main focus of what the eye is looking at. I wanted to make the Earth and the satellite roughly similar in size because they are both extremely important for the context of this photo so I played around with sizing as well.

This is a restaurant logo I created during a class lab using illustrator.
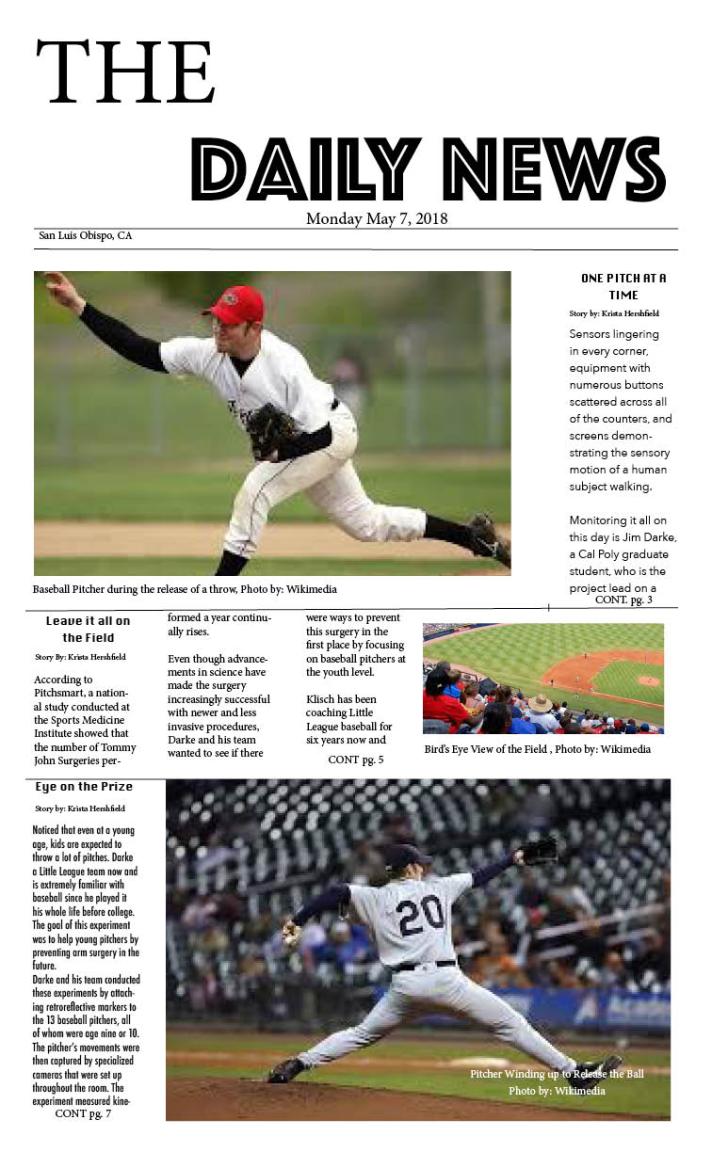
This is a Newspaper Lab that I did in class. This was the first time I used InDesign to make a Newspaper mockup. I played around with different fonts and kept it a fairly simple tone throughout the piece. I made this piece a sports story theme.
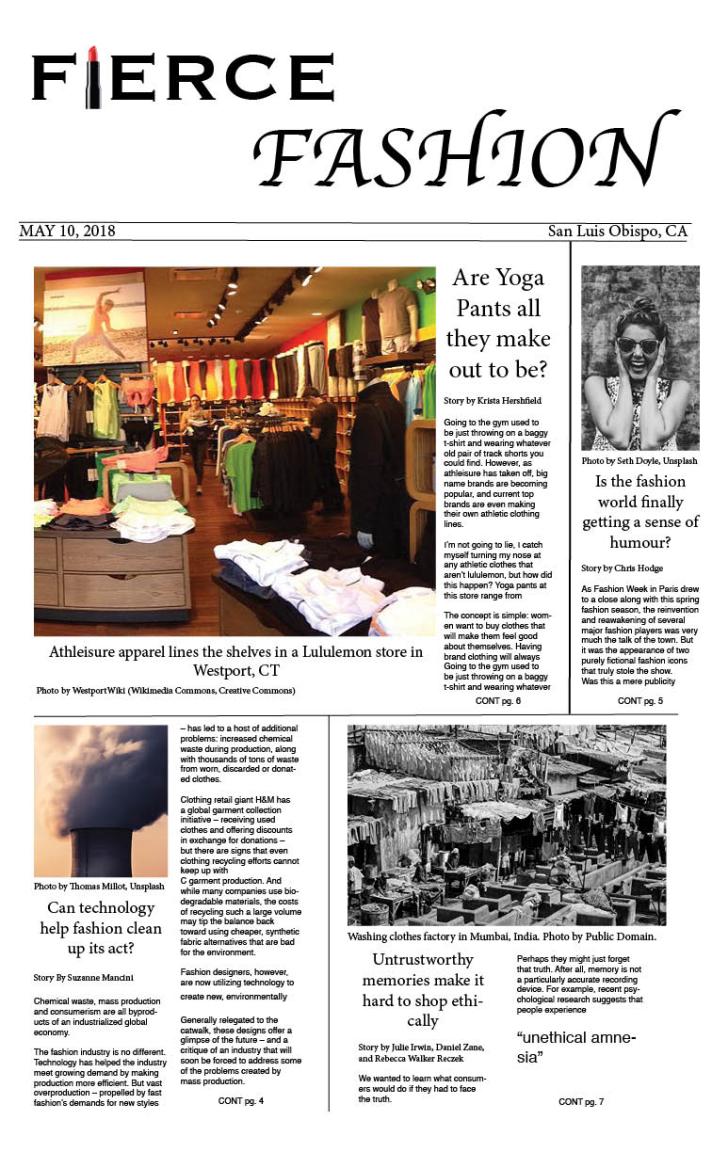
For this project, I was assigned to come up with my own Newspaper. For my newspaper mock-up, I wanted to make sure the main photo stood out, and so that is why my other photos were either in black and white or muted tones. Also, I chose Copperplate and Apple Chancery for the title of my newspaper because I felt they went with the fashion vibe I wanted for my piece. I included the lipstick as the “I” in fierce just to give the title that little pop of color without going over the top. I chose Helvetica as my body text font because it is simple and easy to read. For the rest of the writing, I stuck with Minion Pro because I wanted it to be uniform but also have serifs. I just wanted the body text to contain serif fonts so it was simple and easy to read. I made the yoga pant and unethical factory stories the biggest stories because I felt they were the most interesting to the reader. I chose to use the “unethical amnesia” pull quote because I felt like it was a dramatic statement and could use attention. I wanted to make sure the spacing between each of the stories looked right so I lined up text with the pictures as well in order to make it uniform. I used the gridlines in order to help guide me when creating the spacing. Finally, I added lines and made them thicker in order to break up the stories so there was clear definition between them all.
For this project, we were assigned to create our own magazine spread. I wanted an overall beach vibe as a result of the California attitude. In order to do this, I took the cover photo, and photoshopped the sky in it to make the background for the second layout of the spread. For the last page, I just made a vertical photo half of the spread. In order to create an infographic, I took a picture of California from pixabay and added the locations that I had highlighted in my magazine spread. I then had to attach all the layers together to create one object. I did this part of illustrator. To cut out the photo, I transferred it to photoshop, where I was able to cut out the background. Then I placed it in Indesign. I chose to do some of the title in lowercase because I didn’t like the formality of capitalizing any more of the words. I didn’t want my magazine to be visually over-whelming, so I went with pretty basic fonds such as minion pro and Arial black. I stayed with these two fonts throughout.
